How to use the polish sticks?
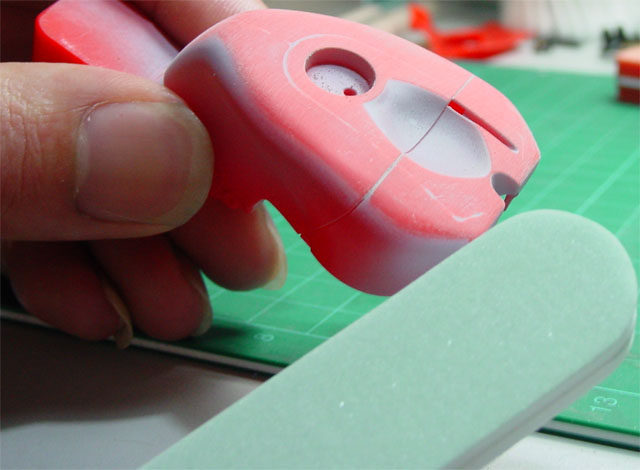
1.choose a part

use the orange stick to polish
feel it is like Tamiya #600-800 polishing paper in a way,but more comfortable and easier when apply ,because the sofeter & wider connection between the kit part and the stick makes the polishing work more efficient.Reduce about 50% of the boring polishing work time effecitvely.

take a look at the dust on after-polishing-work stick
magic result after wash it with water.(big suprise!)It means modelers may use the stick for more times!!!

Then ,use the
green side of stick B

The result after using green side .Then I gotta to use the white side of
stick B.
see the result after using white side.


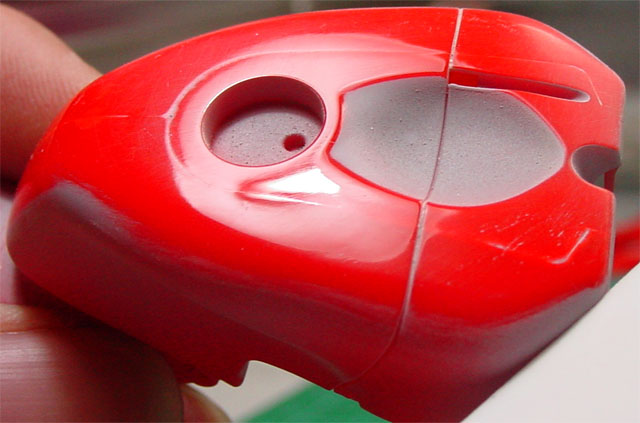
chose another part.Pay attention to the seaming scar in the middle
Used the already dry stick A again.

look at the result
cleaned it by my fingers

After using the green side of Stick B

After using the white side of Stick B


Both of the Stick A and Stick B are double sides to polish
these sticks may apply on resin parts ,too.
original part A

after using blue(nuetral)
abrasive stick

after using green side of polishing stick
after using white side of polishing stick


apply on white metal.Effect are great as always.
step 1 choose an original part.Notice the mold lines and huge grains on the part

step 2 after purple (extra coarse)polishing stick (mold lines were removed mostly,but grains were still big)

step 3 after grey (Fine)polishing stick (deep and fine polishing,grains were
smooth now)
step 4.5 ,4 after green side and white side of the polishing stick(after
green side,the shine was a bit blurry.after the white side,the shine turned to
be real metal shine!)